Dear OREKIT authors, first of all my deep respect, your work is amazing.
I am a chasing ISS enthusiast from mainland China. I have completed the program of tracking the ISS without relying on TLE in one year. I use a guide camera and PID control, but it is not perfect. When the ISS elevation angle is greater than 40 degrees , the ISS will be beyond the camera’s field of view, so I think if the track data of the first minute is used to generate the track, it may be more stable as a basis for later tracking, because it has been proved by experiments that tracking the ISS with TLE is indeed very stable, but I still want to improve The accuracy of my guide star tracking does not depend on existing TLE data, so I want to use OREKIT to generate orbits in real time.
The working steps are:
First, according to my location, observation time, and several groups of RA and DEC measured by ISS under my observation angle to determine the orbit of an ISS;
Then, use this orbit to generate several sets of RA and DEC at my viewing angle for the ISS a few minutes later.
However, I can’t find complete examples in tutorials and forums, do you have complete examples for reference? Once again express my most sincere thanks!
Hi @zgsp2008
Welcome to the Orekit forum.
You have to do it in two steps:
- Perform the orbit determination using your observed RA/DEC measurements
- Perform a measurement generation based on the previously estimated orbit
Orbit Determination
You can look at the NumericalOrbitDetermination tutorial and its abstract class AbstractOrbitDetermination with the method run(). The main method used to build an orbit determination process are inside this class (i.e. propagator configuration, station configuration, etc.). You can even extend it to build your application.
The entry point of this tutorial is: orbit-determination-w3b.yaml. I recommend you to play a little bit with it in order to be familiar with the parametrization.
For your application, the main change will be the parsing of your measurement because I think you use your own format to store your RA/DEC measurements. Maybe you could convert it to our .aer format in order to use easily our abstract class (the parsing of .aer class is included in the abstract class). The NumericalOrbitDetermination uses a .aer file for storing the observed measurement.
As you use RA/DEC which are not supported by the tutorial, you will have to modify the readMeasurements() method of AbstractOrbitDetermination by adding the following key:
 case "RA_DEC" :
      final AngularRaDec angularRaDec = new RaDecParser().parseFields(fields, stations, pvData, satellite,
                                                                      satRangeBias, weights,
                                                                       line, lineNumber, source.getName(), false);
      addIfNonZeroWeight(angular, measurements);
      break;
Also you will need to implement the RaDecParser which is not available in the tutorials. For this, you can look at the AzElParser. Finally, inside the .aer file, your data will have the following shape (it is an example:
2010-11-02T03:00:50.5716   RA_DEC       MyStation           211.1446   43.4099
2010-11-02T03:02:39.3147   RA_DEC       MyStation           298.3727   30.5573
...
In summary, the additional work to extend our tutorial are:
- Convert you data to our .aer format following the example above
- Implement the
RaDecParserfollowing what we’ve done for theAzElParser. - Modify the
readMeasurement()method ofAbstractOrbitDeterminationby adding the"RA_DEC"key.
Measurement Generation
You can look at the MeasurementGenerator class in the tutorials. You can adapt it to use the previously estimated orbit instead of a parsed orbit inside an input file. Also this tutorial generates Range measurements. You can modify it to generate RA/DEC by changing the method getBuilder(...). These are, I think, the two only modifications.
Best regards,
Bryan
Thank you very much for your warm reply, I will study and practice as soon as possible, thank you again! ![]()
Dear bcazabonne, please forgive my stupidity, I’m not familiar with Java, but still tried, I want to run ‘NumericalOrbitDetermination.java’ program directly, using Eclipse IDE, these two files: orbit-determination-w3b.yaml, W3B.aer, I don’t know under which path to put them, although orbit-determination-w3b.yaml says internally it is stored in src/tutorial/resources/tutorial-orekit-data, I created this directory and put the files in but not It works, so I put them in the bin directory, and the program runs with the following error:
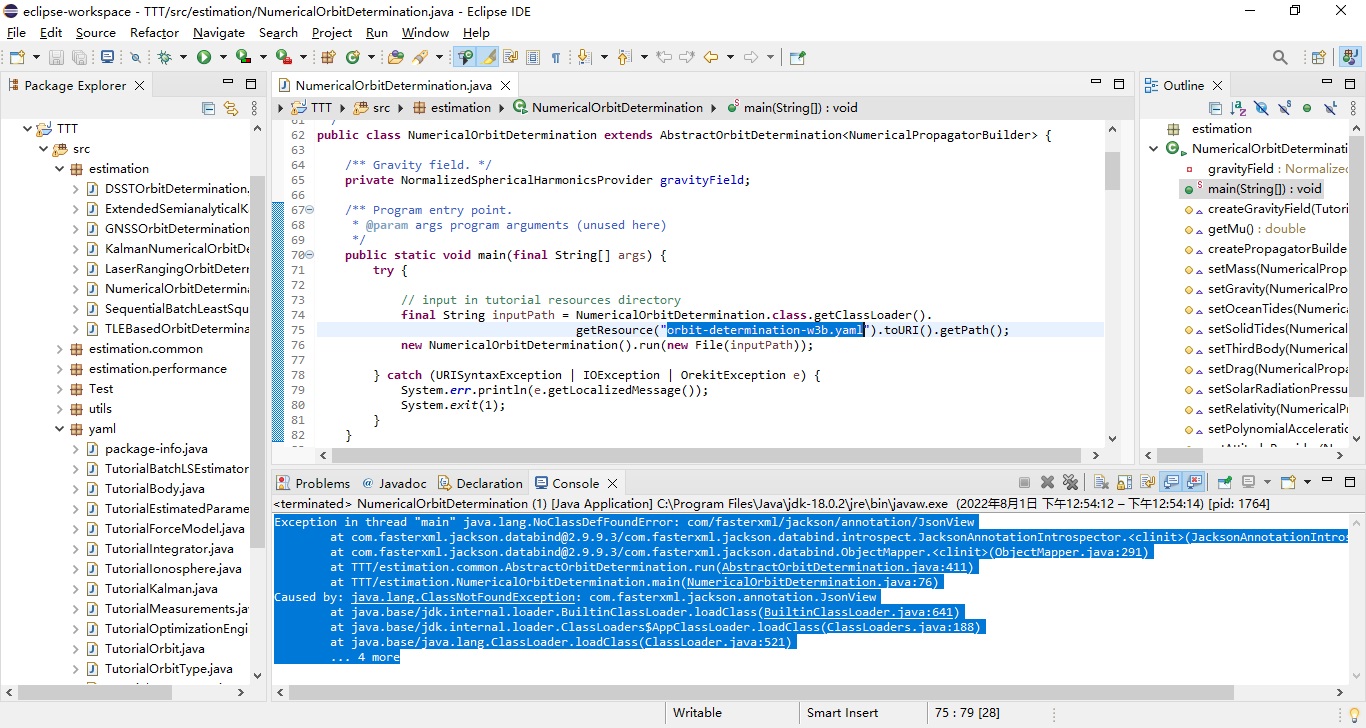
Exception in thread “main” java.lang.NoClassDefFoundError: com/fasterxml/jackson/annotation/JsonView
at com.fasterxml.jackson.databind@2.9.9.3/com.fasterxml.jackson.databind.introspect.JacksonAnnotationIntrospector.(JacksonAnnotationIntrospector.java:37)
at com.fasterxml.jackson.databind@2.9.9.3/com.fasterxml.jackson.databind.ObjectMapper.(ObjectMapper.java:291)
at TTT/estimation.common.AbstractOrbitDetermination.run(AbstractOrbitDetermination.java:411)
at TTT/estimation.NumericalOrbitDetermination.main(NumericalOrbitDetermination.java:76)
Caused by: java.lang.ClassNotFoundException: com.fasterxml.jackson.annotation.JsonView
at java.base/jdk.internal.loader.BuiltinClassLoader.loadClass(BuiltinClassLoader.java:641)
at java.base/jdk.internal.loader.ClassLoaders$AppClassLoader.loadClass(ClassLoaders.java:188)
at java.base/java.lang.ClassLoader.loadClass(ClassLoader.java:521)
… 4 more
Ultimately, if this program works, I don’t think it needs to be modified at all, because the AZ_EL data is also clear, and they are also returned directly by the equatorial mount, so the question now is how should I run this correctly Tutorial, once again express my deep thanks! ! !
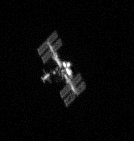
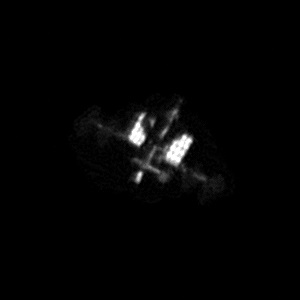
Finally, I also show you the results of my current space station shots.
Hi!
I think the issue is due to the fact that you don’t have the dependencies for the jackson libraries. Two possibilities:
-
Do a
mvn cleanon your orekit-tutorials project. You can do it directly on Eclipse:- Right click on the project
- Go to
Run As Maven clean
-
Import directly the dependencies:
- Download the four following files:
jackson-annotations-2.9.0.jar (65.0 KB)
jackson-core-2.9.9.jar (318 KB)
jackson-databind-2.9.9.jar (1.3 MB)
jackson-dataformat-yaml-2.9.9.jar (41.5 KB) - Right click on the project
Build PathAdd External Archives ...- Select the four previously downloaded files
- Download the four following files:
Best regards,
Bryan
Thank you very much for the two pictures! I really like it ![]()